Shiny Design -
Layouts and
Themes

Day 25

Prof Emily Kurtz

Carleton College
Stat 220 - Spring 2026

Shiny Inputs

Recall that shiny allows a user to interact with visuals/data by directly manipulating inputs

  • Inputs are defined in the ui code
ui <- fluidPage(
  numericInput("num", "Number one", value = 0, min = 0, max = 100),
  sliderInput("num2", "Number two", value = 50, min = 0, max = 100),
  selectInput("state", "What's your favourite state?", state.name)
)

Other ui code

  • ui also controls how app “looks” (server code changes not required)
ui <- fluidPage(
  h1("Example app"), # Level-1 header
    inputPanel( # layout container that can group multiple input widgets
      numericInput("nrows", "Number of rows", 10)
    ),
    mainPanel( # layout container than contains output elements
      plotOutput("plot"),
      tableOutput("table")
    )
)

Warm Up

Open the following shinyapps and explore a little bit.

With the folks around you, discuss:

  1. Did any apps stand out as enjoyable or useful?
  2. What features or design choices make an app stand out?
  3. Are there any small tweaks you could make to make them more usable?

Layouts

Page with sidebar

fluidPage(
  titlePanel(
    # app title/description
  ),
  sidebarLayout(
    sidebarPanel(
      # inputs
    ),
    mainPanel(
      # outputs
    )
  )
)

Multi-row

fluidPage(
  fluidRow(
    column(4, 
      ...
    ),
    column(8, 
      ...
    )
  ),
  fluidRow(
    column(6, 
      ...
    ),
    column(6, 
      ...
    )
  )
)

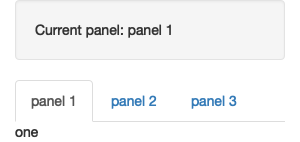
Multi-page: Tabsets

ui <- fluidPage(
  sidebarLayout(
    sidebarPanel(
      textOutput("panel")
    ),
    mainPanel(
      tabsetPanel(
        id = "tabset",
        tabPanel("panel 1", "one"),
        tabPanel("panel 2", "two"),
        tabPanel("panel 3", "three")
      )
    )
  )
)
server <- function(input, output, session) {
  output$panel <- renderText({
    paste("Current panel: ", input$tabset)
  })
}
Multi-page: nav list

ui <- fluidPage(
  navlistPanel(
    id = "tabset",
    "Heading 1",
    tabPanel("panel 1", "Panel one contents"),
    "Heading 2",
    tabPanel("panel 2", "Panel two contents"),
    tabPanel("panel 3", "Panel three contents")
  )
)

Multi-page: nav bar

ui <- navbarPage(
  "Page title",   
  tabPanel("panel 1", "one"),
  tabPanel("panel 2", "two"),
  tabPanel("panel 3", "three"),
  navbarMenu("subpanels", 
    tabPanel("panel 4a", "four-a"),
    tabPanel("panel 4b", "four-b"),
    tabPanel("panel 4c", "four-c")
  )
)

Theming

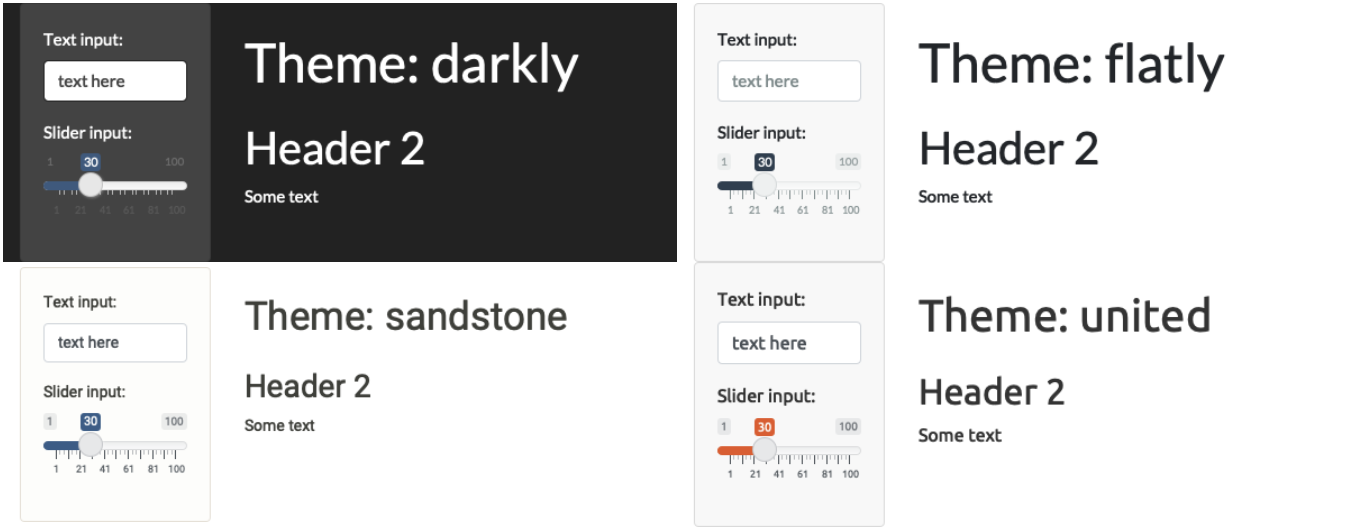
Theming: built-in themes

fluidPage(
  theme = bslib::bs_theme(...) # e.g. theme = bs_theme(bootswatch = "darkly"),
)

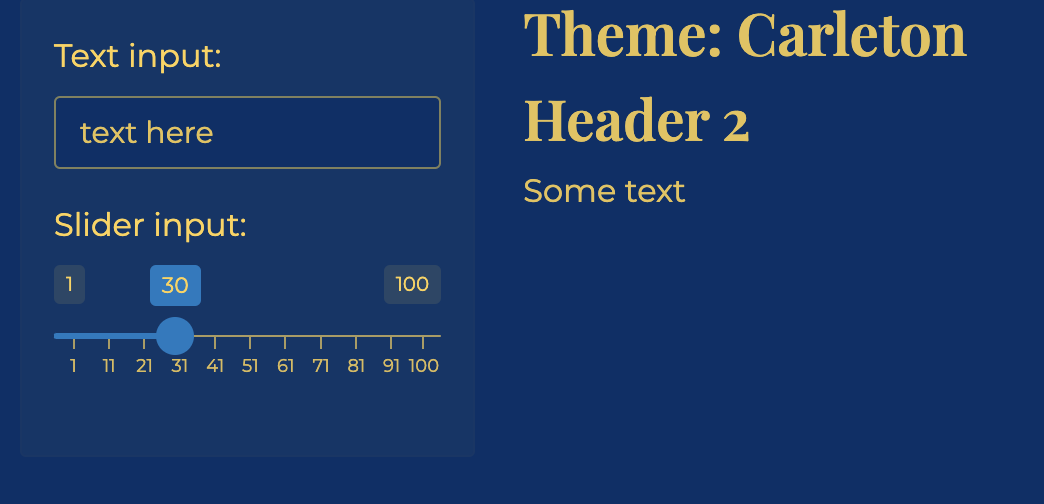
Theming: customize

fluidPage(
  theme = bslib::bs_theme(
    bg = "#003069", # background color
    fg = "#ffd24f", # foreground color
    base_font = "Montserrat",
    heading_font = "Playfair Display SemiBold"
)

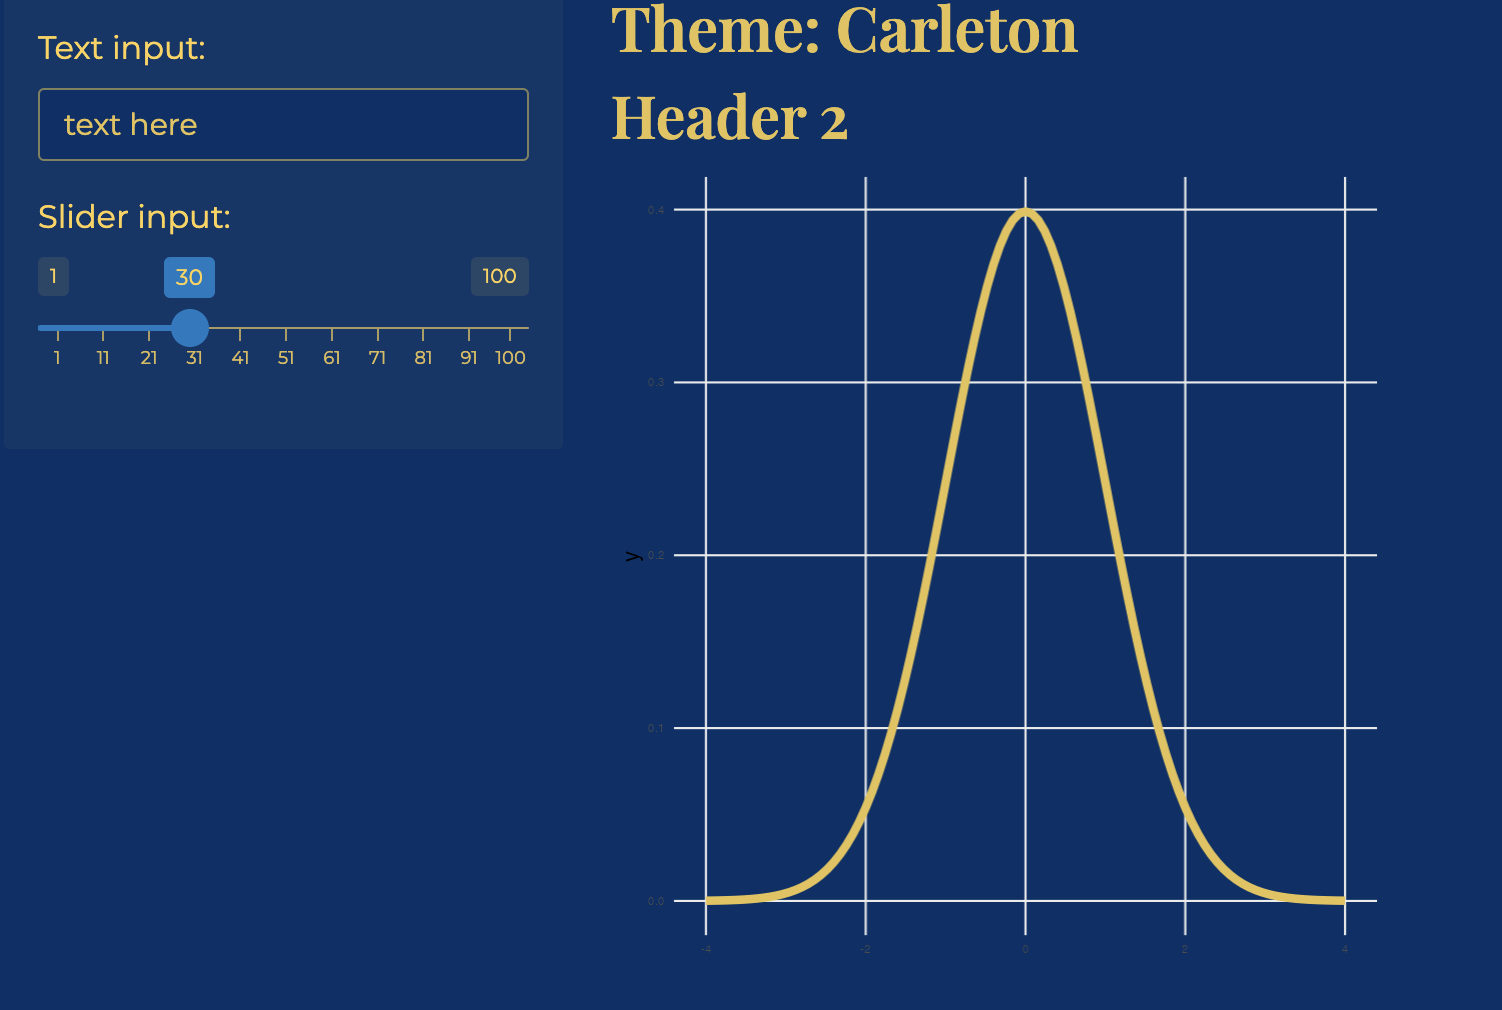
Plot theming

server <- function(input, output, session) {
  thematic::thematic_shiny() #matches plot's style to app's
  
  output$distPlot <- renderPlot({
    ggplot(...)
  })
}

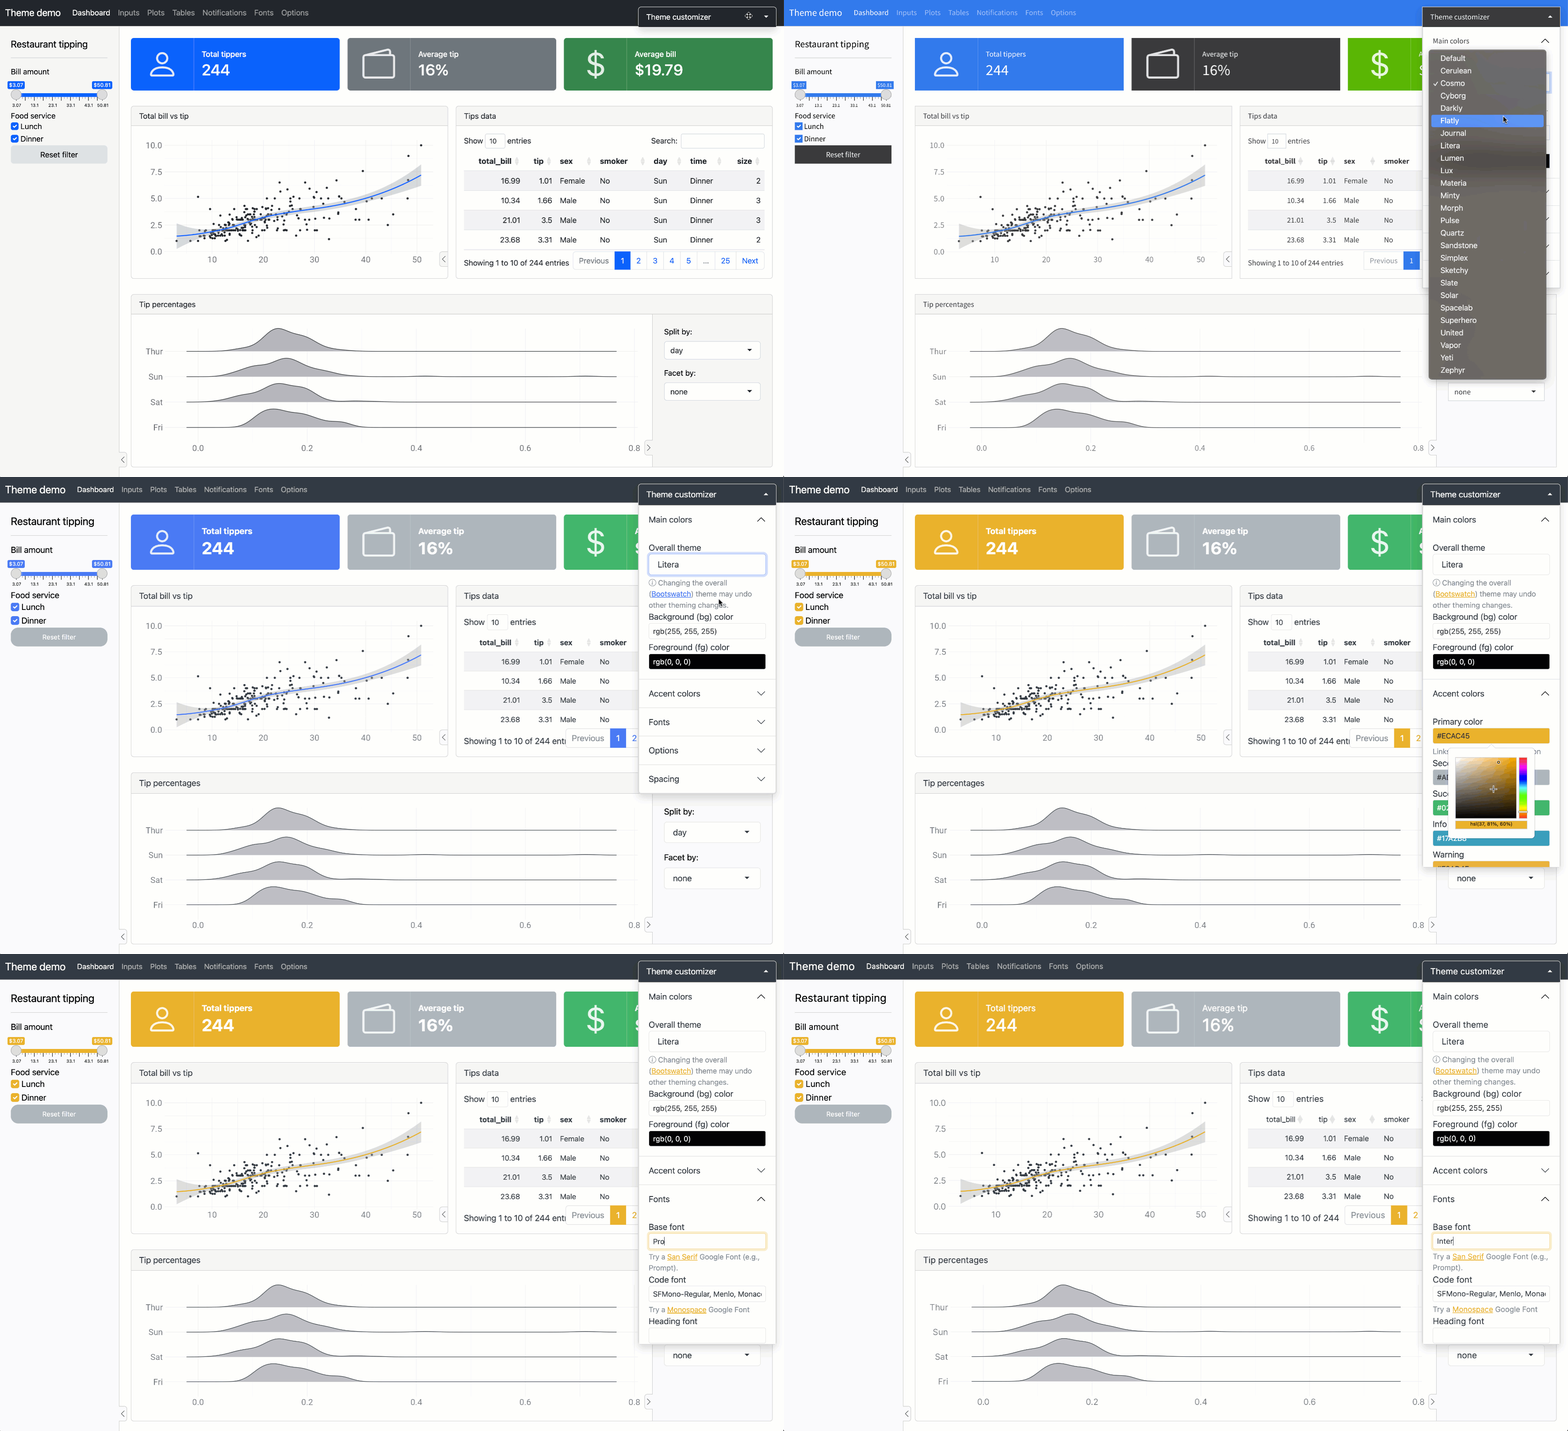
Live Theme Experimenting

How?

  • Add theme = bslib::bs_theme() to your ui() function, and bslib::bs_themer() to your server function to try out different options interactively

  • Minimize (don’t close!) app and notice code updating in console - bs_theme_update(). Copy code!

  • When happy,

library(bslib)
my_theme <- bs_theme(PASTE ALL ARGUMENTS FROM CODE COPIED)

ui <- fluidPage(
  theme = my_theme,
  ...
)

Your turn

  • Add a custom theme to the geyser app you created last class
  • Update the ggplot themes to match

Deploying an app

  • Shiny apps need to be “connected” to RStudio or a remote RStudio server

  • You can deploy shiny apps online

    • using Posit’s cloud server (free/fee) - https://www.shinyapps.io/
      • “Getting started” guide will walk you through connecting RStudio to your shinyapps.io account
      • note: there is also now an option to deploy via Connect Cloud from your github. Feel free to try it!
    • creating a shiny server
  • Your app and files should be in their own folder and the entire folder is what you “deploy”. You do not want multiple app.R or .Rmd files in that folder!

Your Turn

  • If you haven’t already, sign up for a shiny apps account. Then
  • Use the remaining time to keep playing with the geyser app. Continue making changes suggested last class, keep playing with theme and layout. Or
  • Work on homework problem 5
  • When you have 5-10 minutes left, make sure you have an app that will run (even if it isn’t done), and follow previous slide to try to publish it to shinyapps.io